Improper alternator drive coupling installations on Continental engines can lead to major alternator and engine damage.
I have to say that this year’s airshow season is off to a great start.
While I get a lot of great questions when we attend an airshow, one topic that comes up all the time is how to avoid the problem of alternator and engine damage caused by the improper installation of the aircraft’s alternator on Continental engines.
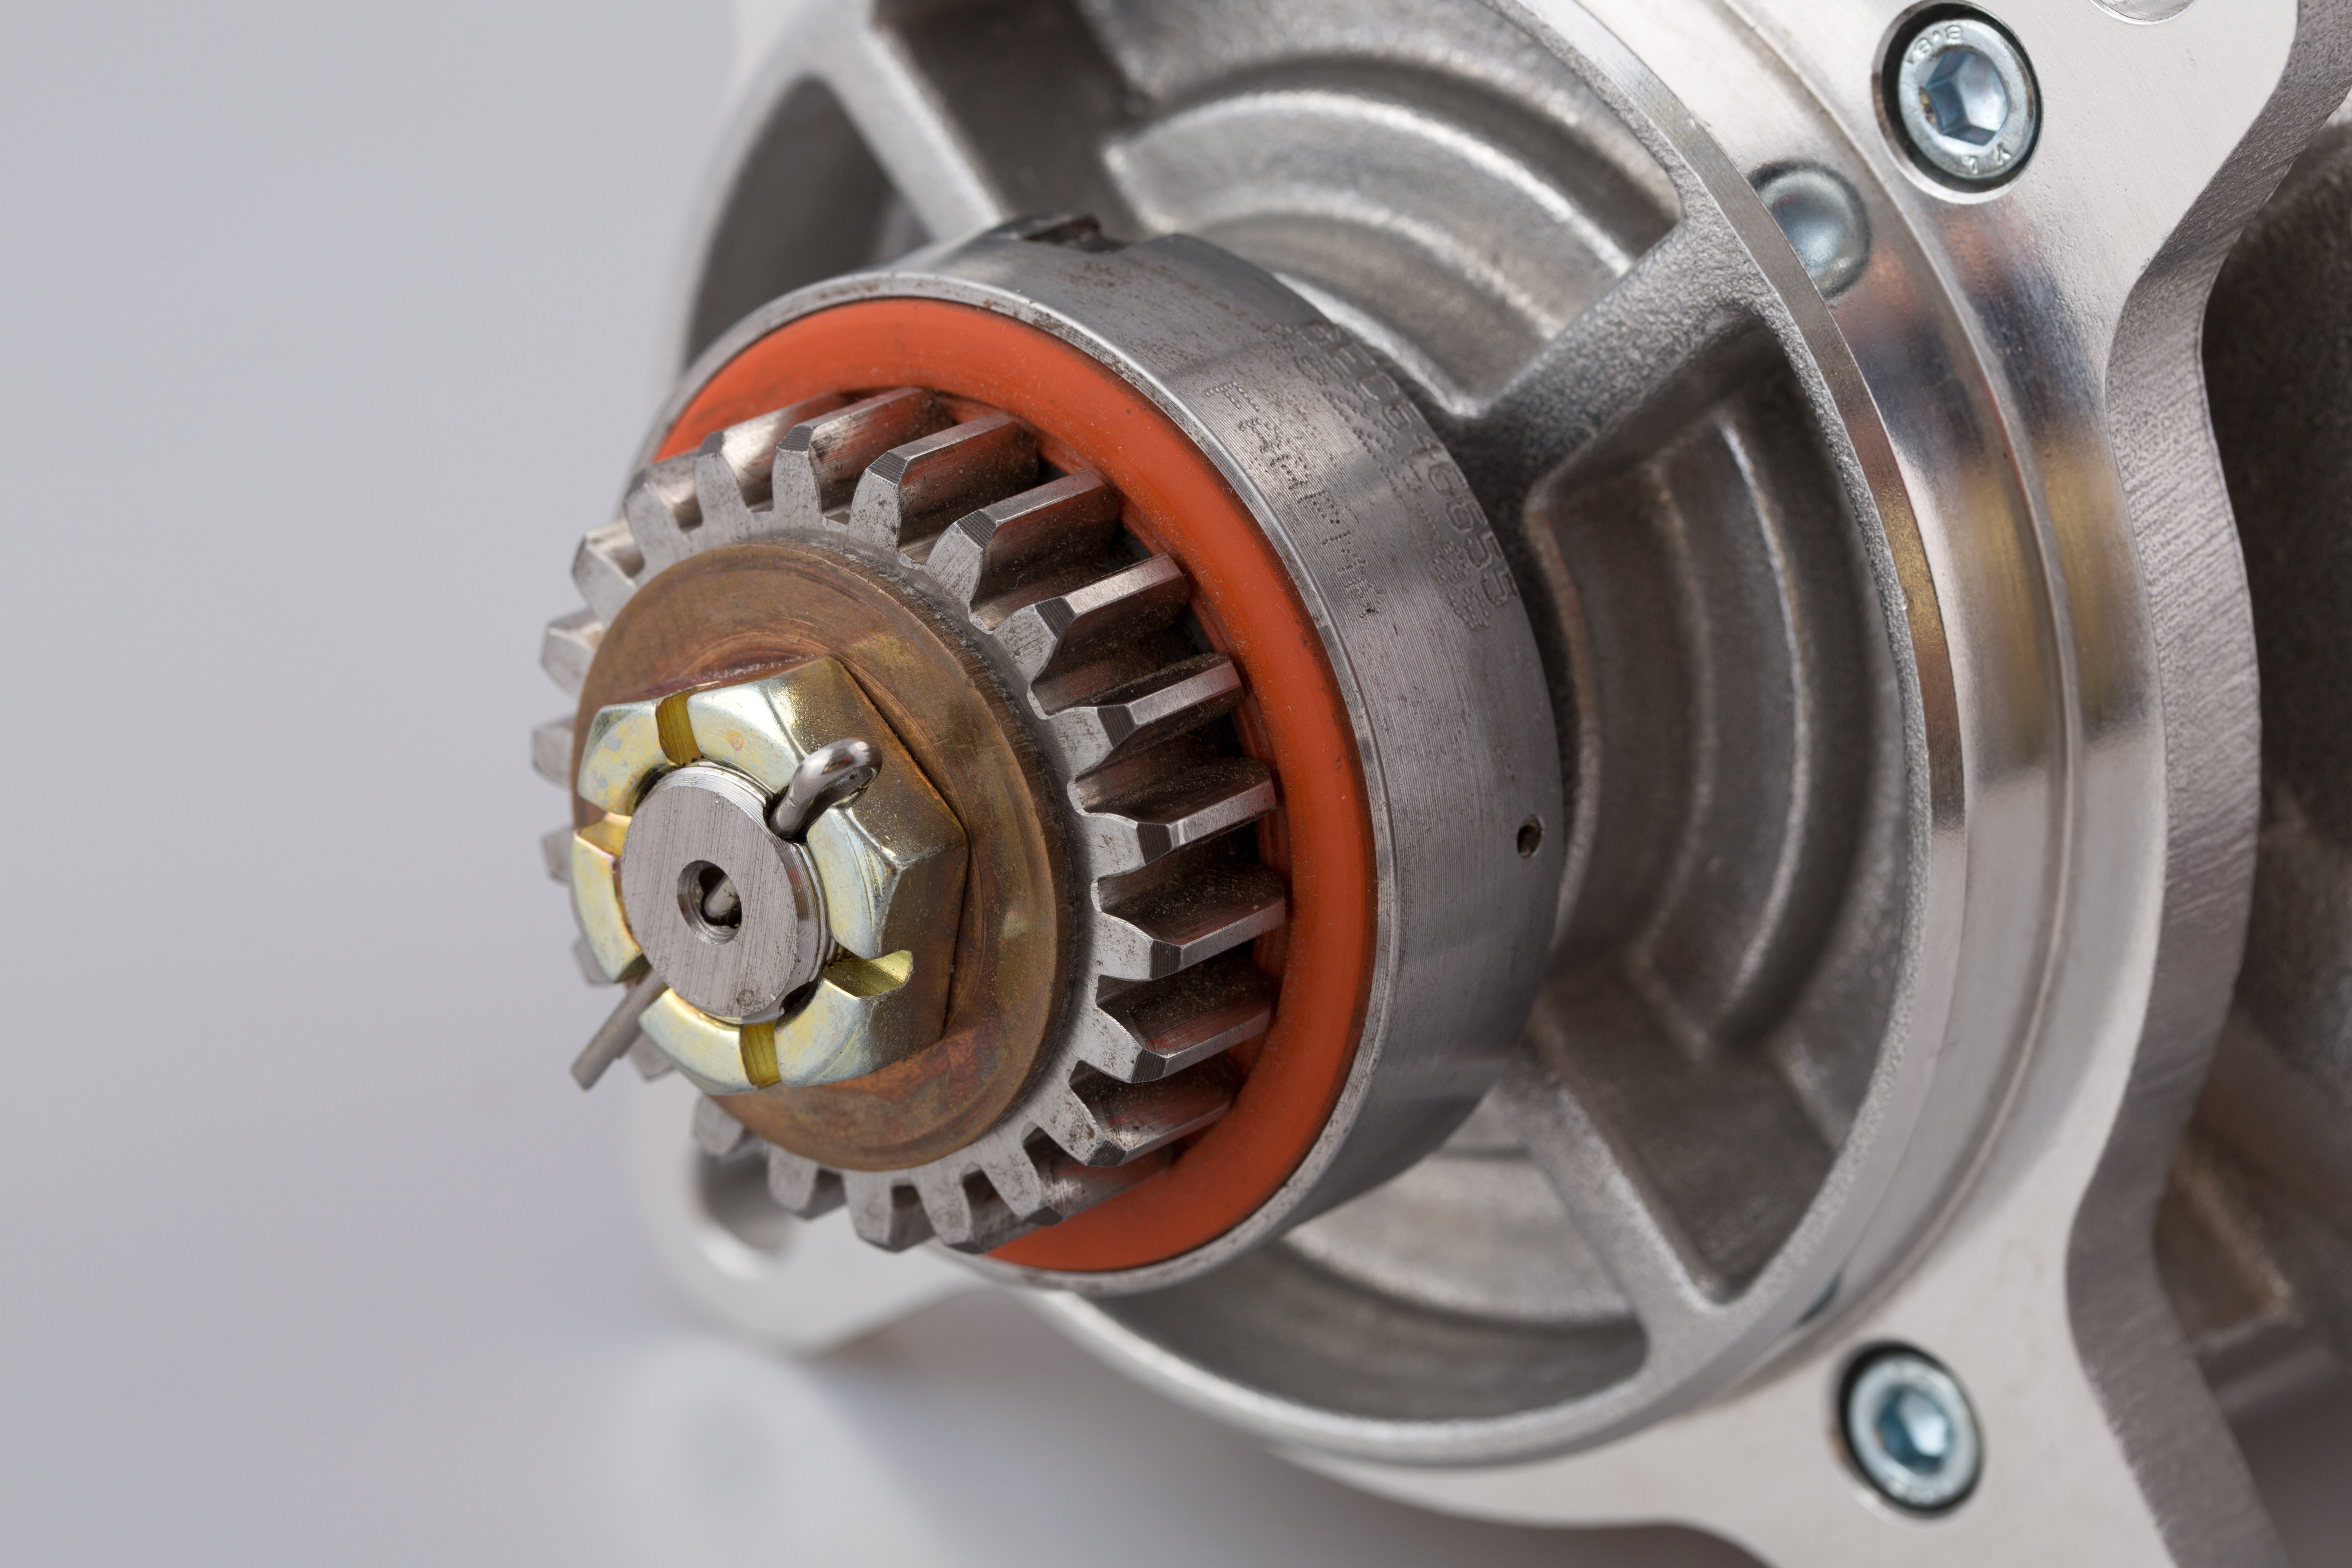
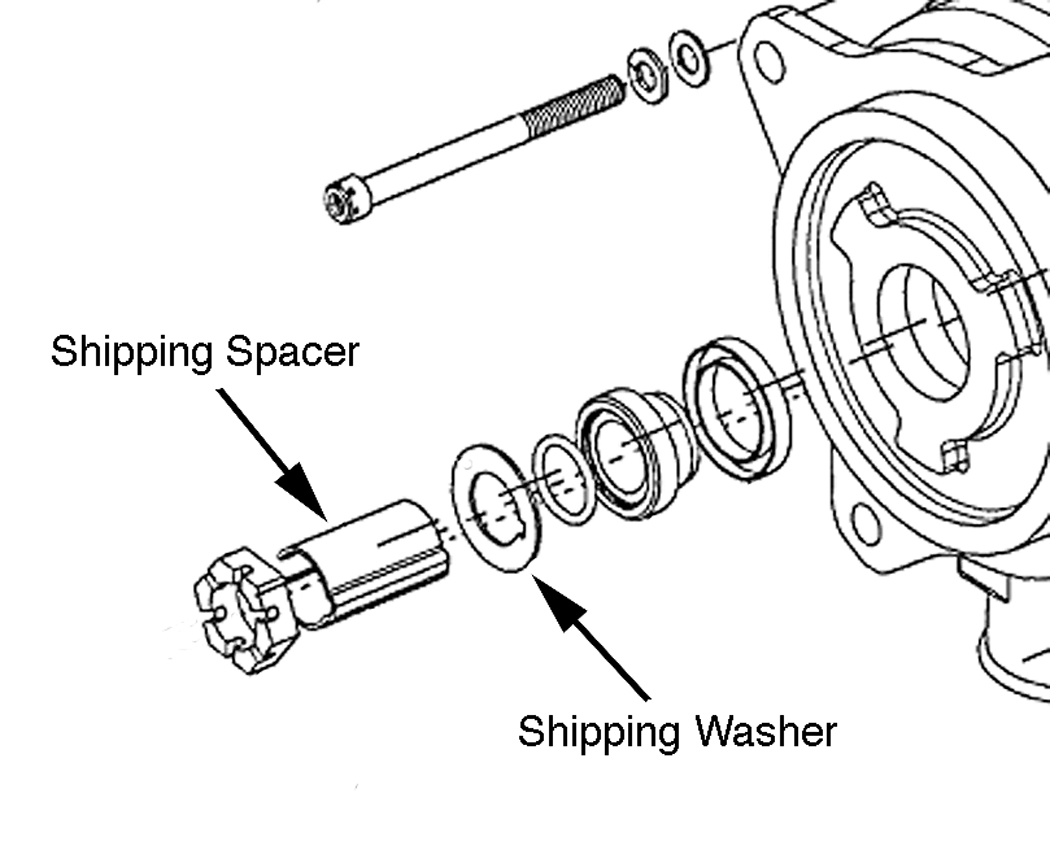
Time after time, the problem stems from the mechanic incorrectly mating the alternator drive coupling to the engine. One issue in particular is with mechanics installing the alternator with the metal shipping washer still on the unit.
As the alternator manufacturer, we’ve addressed this by recently changing to a cardboard spacer, however there are still units out in the field that were shipped with a metal spacer and separate shipping washer. These pieces are in place purely to protect the alternator’s drive assembly from damage during transport. They are NOT part of the installation.
FMI: See HET SL A-140 R1
The mechanic must remove these pieces and then securely attach the Continental alternator coupling to the alternator’s drive shaft prior to installing the assembly on the engine. It’s a simple process, but if it’s not done correctly, the alternator gears will not mesh properly with the drive gear inside the engine.
The typical result of a mis-installation will be side loading created by the mis-aligned gear train, which can cause the alternator shaft to shear. This leads to the metal shipping washer, or other drive material, falling into the crankcase and shredding to pieces inside the engine. Not good.
I get too many customers contacting me saying their alternator shaft has broken and that the unit is faulty. They don’t like hearing that the failure is due to improper alternator installation and not the part’s failure.
In addition, proper torquing of the drive coupling nut is also essential and 300 – 450 inch-pounds can be difficult to achieve while holding a small hub. To help improve nut torquing HET has added a hex socket on the end of the alternator drive shaft. To take advantage of this feature, hold the drive coupling nut with an open-end wrench and apply installation torque through the shaft hex socket.
An aircraft alternator installation should, and is, a very straightforward operation – if you follow all the steps. That’s why I cannot stress enough how important it is that technicians follow Continental’s installation Service Bulletins. If you’re not familiar with them, here are links:
For big bore Continental engines: http://www.tcmlink.com/pdf2/SB11-3.pdf
For small bore Continental engines: http://www.tcmlink.com/pdf2/SB95-3B.pdf
One final note about the couplings – the elastomeric material inside them will eventually wear to the point that the coupling will slip and that will lead to the alternator intermittently going offline. So when you start troubleshooting an intermittent alternator problem on a Continental engine, make sure that one of the first things you do is refer to the Step 3 Note in Continental Service Bulletin SB11-3. Also, review Continental’s troubleshooting tips at: http://www.tcmlink.com/pdf2/M84-5.pdf.